
Installation Made Easy: DIY Electric Water Heater Setup Guide
DIY Electric Water Heater Setup Guide Installing an electric water heater may seem like a daunting task, but with the right guidance, it can be a rewarding and cost-effective DIY project. In this guide, we provide step-by-step instructions to make the installation process easy and straightforward. Whether you’re replacing an old unit or installing a new one, follow this DIY electric water heater setup guide for a hassle-free experience.
1. Gather Your Tools and Materials
Before you begin, ensure you have all the necessary tools and materials. This includes a pipe wrench, screwdrivers, tubing cutter, pipe thread sealant, and, most importantly, the electric water heater unit. Check the manufacturer’s instructions for any specific tools required for your model.
2. Choose the Right Location
Select a suitable location for your electric water heater. Ensure it complies with local building codes, has proper ventilation, and provides easy access for maintenance. The location should also be close to the electrical panel to minimize wiring complexities.
3. Prepare the Area
Clear the designated area and create a stable foundation for the water heater. This may involve installing a platform or adjusting the existing floor to ensure a level surface. A level water heater ensures proper functionality.
4. Shut Off Utilities
Before starting the installation, turn off the electricity and water supply to the area. This step is crucial for safety and allows you to work without any risks. Identify the existing water shut-off valve and turn it off.
5. Remove the Old Water Heater
If replacing an old unit, drain and disconnect the existing water heater. Use a hose to drain the tank and disconnect both the water supply and electrical connections. Carefully remove the old unit and clear the space for the new one.
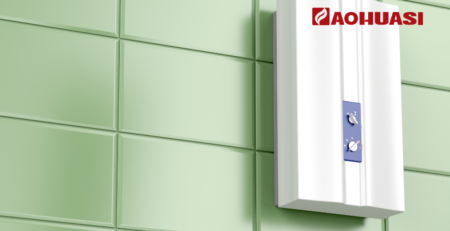
6. Install the New Water Heater
Place the new electric water heater on the prepared surface. Connect the water pipes using appropriate fittings and thread sealant. Ensure tight connections to prevent leaks. If your unit requires an expansion tank, install it according to the manufacturer’s instructions.
7. Connect the Electrical Wiring
Follow the manufacturer’s guidelines for electrical connections. Connect the wiring to the designated terminals, ensuring proper grounding. If you are not confident with electrical work, consider hiring a professional electrician to assist you.
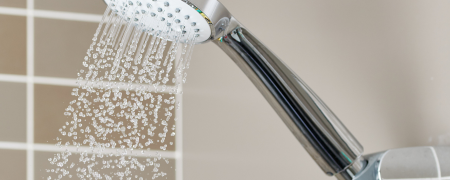
8. Fill and Test
Once the water heater is securely installed and connected, open the water supply valve and fill the tank. Check for any leaks in the connections. Turn on the electricity and set the temperature according to your preferences. Allow the water heater to heat the water, and check for consistent hot water flow.
9. Insulate Pipes (Optional)
For additional energy efficiency, consider insulating the hot water pipes connected to the water heater. This helps in retaining heat and reduces heat loss during water transportation.
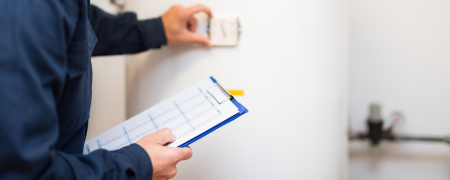
10. Perform Regular Maintenance
To ensure the longevity of your electric water heater, perform regular maintenance checks. This includes flushing the tank annually to remove sediment buildup and inspecting the anode rod for corrosion.
Conclusion
With this DIY electric water heater setup guide, you can confidently install or replace your electric water heater. Remember to prioritize safety, follow manufacturer instructions, and, when in doubt, seek professional assistance. By taking the reins of your water heater installation, you not only save on installation costs but also gain a sense of accomplishment in mastering a fundamental home improvement skill.
By utilizing this comprehensive guide for setting up your own electric water heater, you can confidently undertake the installation or replacement process. It is crucial to prioritize safety at all times, adhere to the manufacturer’s instructions, and seek professional help if unsure. By assuming control of your water heater installation, you can save on expenses while also experiencing the satisfaction of acquiring a vital home improvement skill.
Remember to prioritize safety, follow manufacturer instructions, and, when in doubt, seek professional assistance. By taking the reins of your water heater installation, you not only save on installation costs but also gain a sense of accomplishment in mastering a fundamental home improvement skill. Utilizing this comprehensive guide for setting up your own electric water heater, you can confidently undertake the installation or replacement process. It is crucial to prioritize safety at all times, adhere to the manufacturer’s instructions, and seek professional help if unsure. By assuming control of your water heater installation, you can save on expenses while also experiencing the satisfaction of acquiring a vital home improvement skill.
Remember to prioritize safety, follow the manufacturer’s instructions, and, when unsure, seek professional assistance. Taking charge of your electric water heater installation allows you to save on costs and gain a sense of accomplishment in mastering a vital home improvement skill. With this comprehensive guide, confidently undertake the process of installing or replacing your own electric water heater. Always prioritize safety, adhere to the manufacturer’s instructions, and seek professional help if needed. By assuming control of your water heater installation, you can save on expenses while acquiring a valuable home improvement skill.
Leave a Reply